
The Wild Cherry That Came Back: What Yamazakura Bonsai Teaches Us About Patience and Collected Material
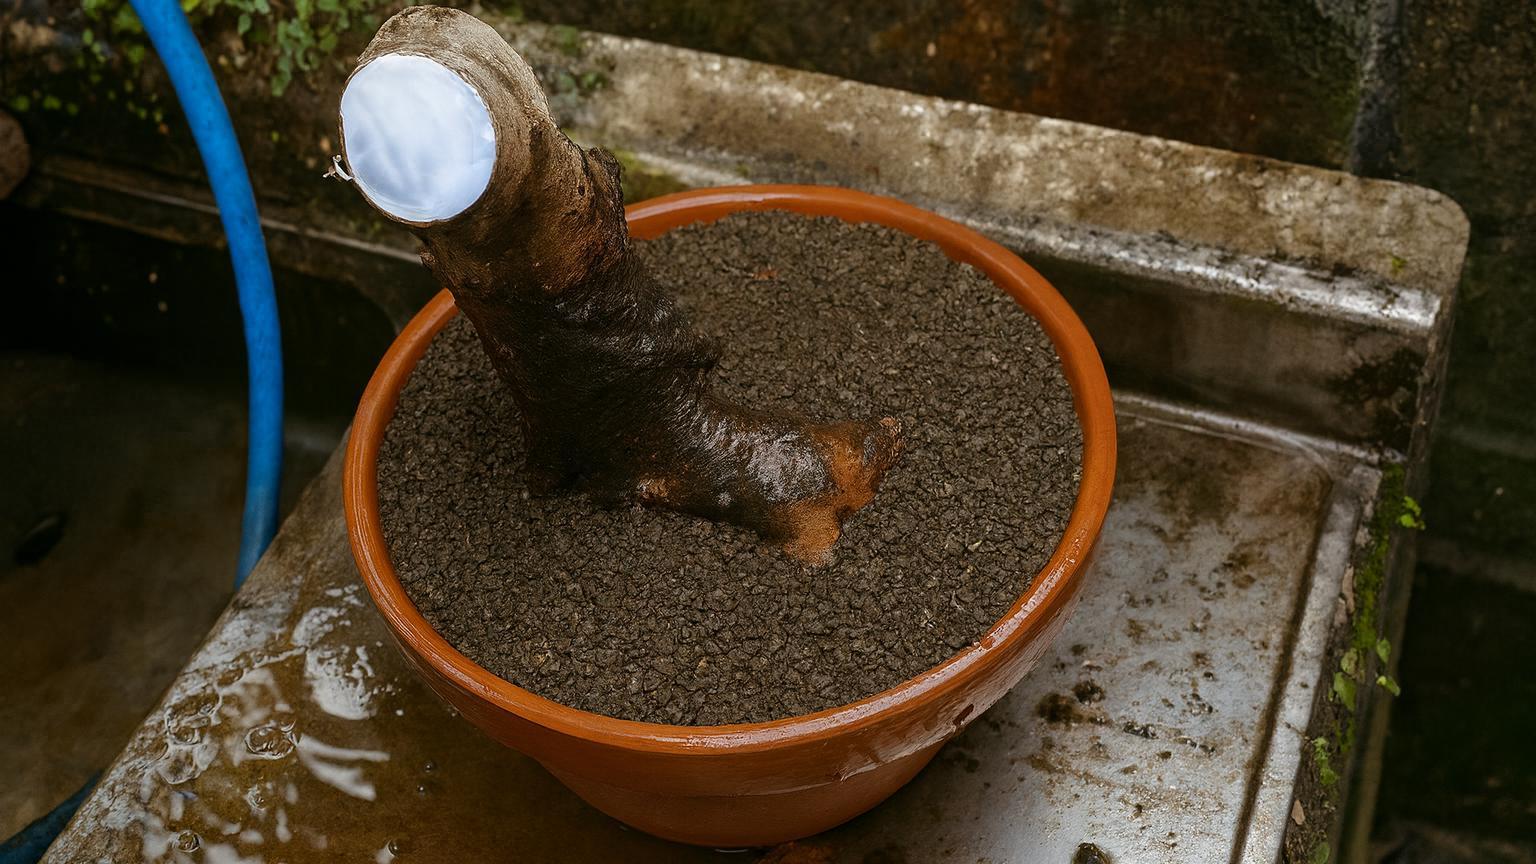
There is a moment every collector knows — the weeks after potting a freshly dug tree when nothing moves, nothing stirs, and doubt begins to feel louder than hope. A recent viral video by Japanese bonsai creator yamasibon KIWA captured exactly that tension, and the resolution that followed: a Prunus jamasakura (Yamazakura, Japanese mountain cherry) trunk dug from a hillside in March, potted into a shallow bonsai container, sealed under a clear polythene bag, and left to find its will to live. By August — five months later — the tree had pushed dense, dark green foliage from every node along its trunk, its branches thickening visibly from the base. The Nlab article covering the story reports the video has attracted nearly 49,000 views and more than 800 likes, with viewers calling the result “truly beautiful” and praising the “wonderful craftsmanship.” We think the real story here is not the numbers — it is what the technique quietly reveals about collected cherry material that most beginner guides get completely wrong.
What Most Guides Get Wrong About Collecting Cherry
The common advice around cherry bonsai — both wild and cultivated — leans heavily on grafting or layering as the “safe” routes into the species. Collected Yamazakura trunks are frequently dismissed as risky, unpredictable, or simply not worth the effort compared to nursery stock. We would argue that framing is backwards. A collected Prunus jamasakura already carries decades of natural taper, fissured bark, and movement that nursery material simply cannot replicate within any reasonable timeline. The risk is real, but it is manageable if you respect what the tree’s root system has just been through.
The detail that most summaries of this kind of project skip over is the cut-surface treatment. yamasibon KIWA coated every severed trunk cross-section with wood glue — not specialist wound paste, not cut putty, but ordinary woodworking adhesive — immediately after potting. This is a legitimate interim measure when proper bonsai wound sealant is unavailable, as it reduces moisture loss from fresh cambium without trapping anaerobic conditions the way thick pastes can on large cuts. It is a small, specific choice that reflects practical field experience rather than textbook instruction.
The Humidity Tent: Timing Is Everything
The polythene bag placed over the potted tree is not decorative caution — it is doing serious physiological work. A freshly collected Yamazakura in March has a root system that has been reduced by roughly half or more through the excavation process. Until new feeder roots establish, the canopy’s transpiration demand will exceed what the remaining roots can supply. The bag creates a high-humidity microenvironment that suppresses transpiration almost entirely, buying the tree the weeks it needs to initiate root growth rather than starving its own cells of water.
The critical window in this case ran from March collection through April bud break. Removing the bag too early — say, before those first buds visibly extended — would have exposed fragile new growth to ambient humidity before root capacity could support it. Removing it too late risks fungal pressure on that same new growth. yamasibon KIWA timed the bag removal to coincide with April bud extension, which aligns with what we consider best practice: wait until you see at least one full flush of new leaves beginning to expand, then harden off gradually over several days rather than in one removal.
A Concrete Five-Step Potting Protocol for Collected Yamadori Cherry
- Soak the root ball immediately after excavation — submerge in clean water for one to two hours to rehydrate compressed roots and soften attached soil for safer removal without tearing fine roots.
- Reduce roots conservatively — retain as many branching laterals as possible; cut only roots that cannot fit the target pot or that are broken. Yamazakura is not as forgiving of aggressive root reduction as, say, collected juniper.
- Use a free-draining substrate — a mix of coarse akadama, pumice and a small gravel layer at the base supports the oxygen exchange that new roots require; avoid peat-heavy mixes that retain moisture at the cost of aeration.
- Seal all cut surfaces — wood glue is an acceptable field substitute; apply it as soon as cuts are made, before the tree goes into the pot.
- Bag immediately and place in bright, indirect light — avoid full direct sun for the first four to six weeks; heat buildup inside the bag under direct sun will cook emerging buds before roots can support them.
Why May Pruning of Low Shoots Matters More Than It Looks
One specific detail from yamasibon KIWA’s process that deserves more attention than it typically gets in collected-tree discussions: in May, once the tree was visibly healthy and greening up strongly, low shoots near the nebari were removed. This is not cosmetic tidying. Shoots emerging from the base of a recovering collected tree draw heavily on stored carbohydrates and compete directly with the upper structure for energy. Removing them in May — before they lignify — redirects the tree’s resources toward the branch structure that will define the future design. Leaving them until later means a larger wound and a harder cut for the tree to seal during the same season it is still establishing roots.
Our Take
yamasibon KIWA’s Yamazakura project is compelling not because it is dramatic but because it is methodical. The decisions — the root soak, the glue seal, the bag timing, the May pruning — are each small and individually unremarkable. Together they represent a coherent understanding of what a collected tree actually needs in its first season. We think this is the real lesson for anyone tempted to collect wild material: the tree does not need heroic intervention, it needs a grower who respects the lag between root loss and recovery, and who resists the urge to rush any single step. If you have been on the fence about working with collected wild cherry, this project is as clear a proof of concept as you will find.
It is also worth noting that, given how loaded the cultural history of the word “bonsai” itself can be, the quiet, rural, hands-in-the-soil nature of work like this serves as a useful corrective — a reminder that the practice is fundamentally horticultural before it is anything else. For more on how the term carries weight beyond the art form, our piece When a Name Becomes a Warning: The Dark Side of “Bonsai” as a Cultural Metaphor explores that territory in depth.
Actionable Takeaway
If you are potting any collected deciduous material this coming spring, cut a piece of clear polythene large enough to tent the entire tree and pot, seal it loosely at the base, and leave it in place until you observe a full flush of expanding leaves — not just bud swell, but actual leaf extension. Then open the bag at the base for three days before removing it entirely. That single change in your post-potting routine is likely to improve your survival rate with collected material more than any other adjustment you could make.
By Redazione Bonsai World
Article researched and written with AI assistance and reviewed by the Bonsai World editorial team.